Grab & Go for Adults for the Week of July 20th is a Pressed Flower Bookmark kit. Twenty-five (25) of these kits are available at the Pickerington Main and at Sycamore Plaza Library. Stop by or use our curbside service to get yours! Don’t worry, if you miss the kit, you can still make your own by following these instructions.
Supplies:
- Fresh flowers and leaves
- Scissors
- Parchment paper or coffee filters
- Heavy book
- Cardstock
- Hole punch
- Pressed flowers
- Glue
- Pens or markers
- Contact paper
- Ribbon or yarn
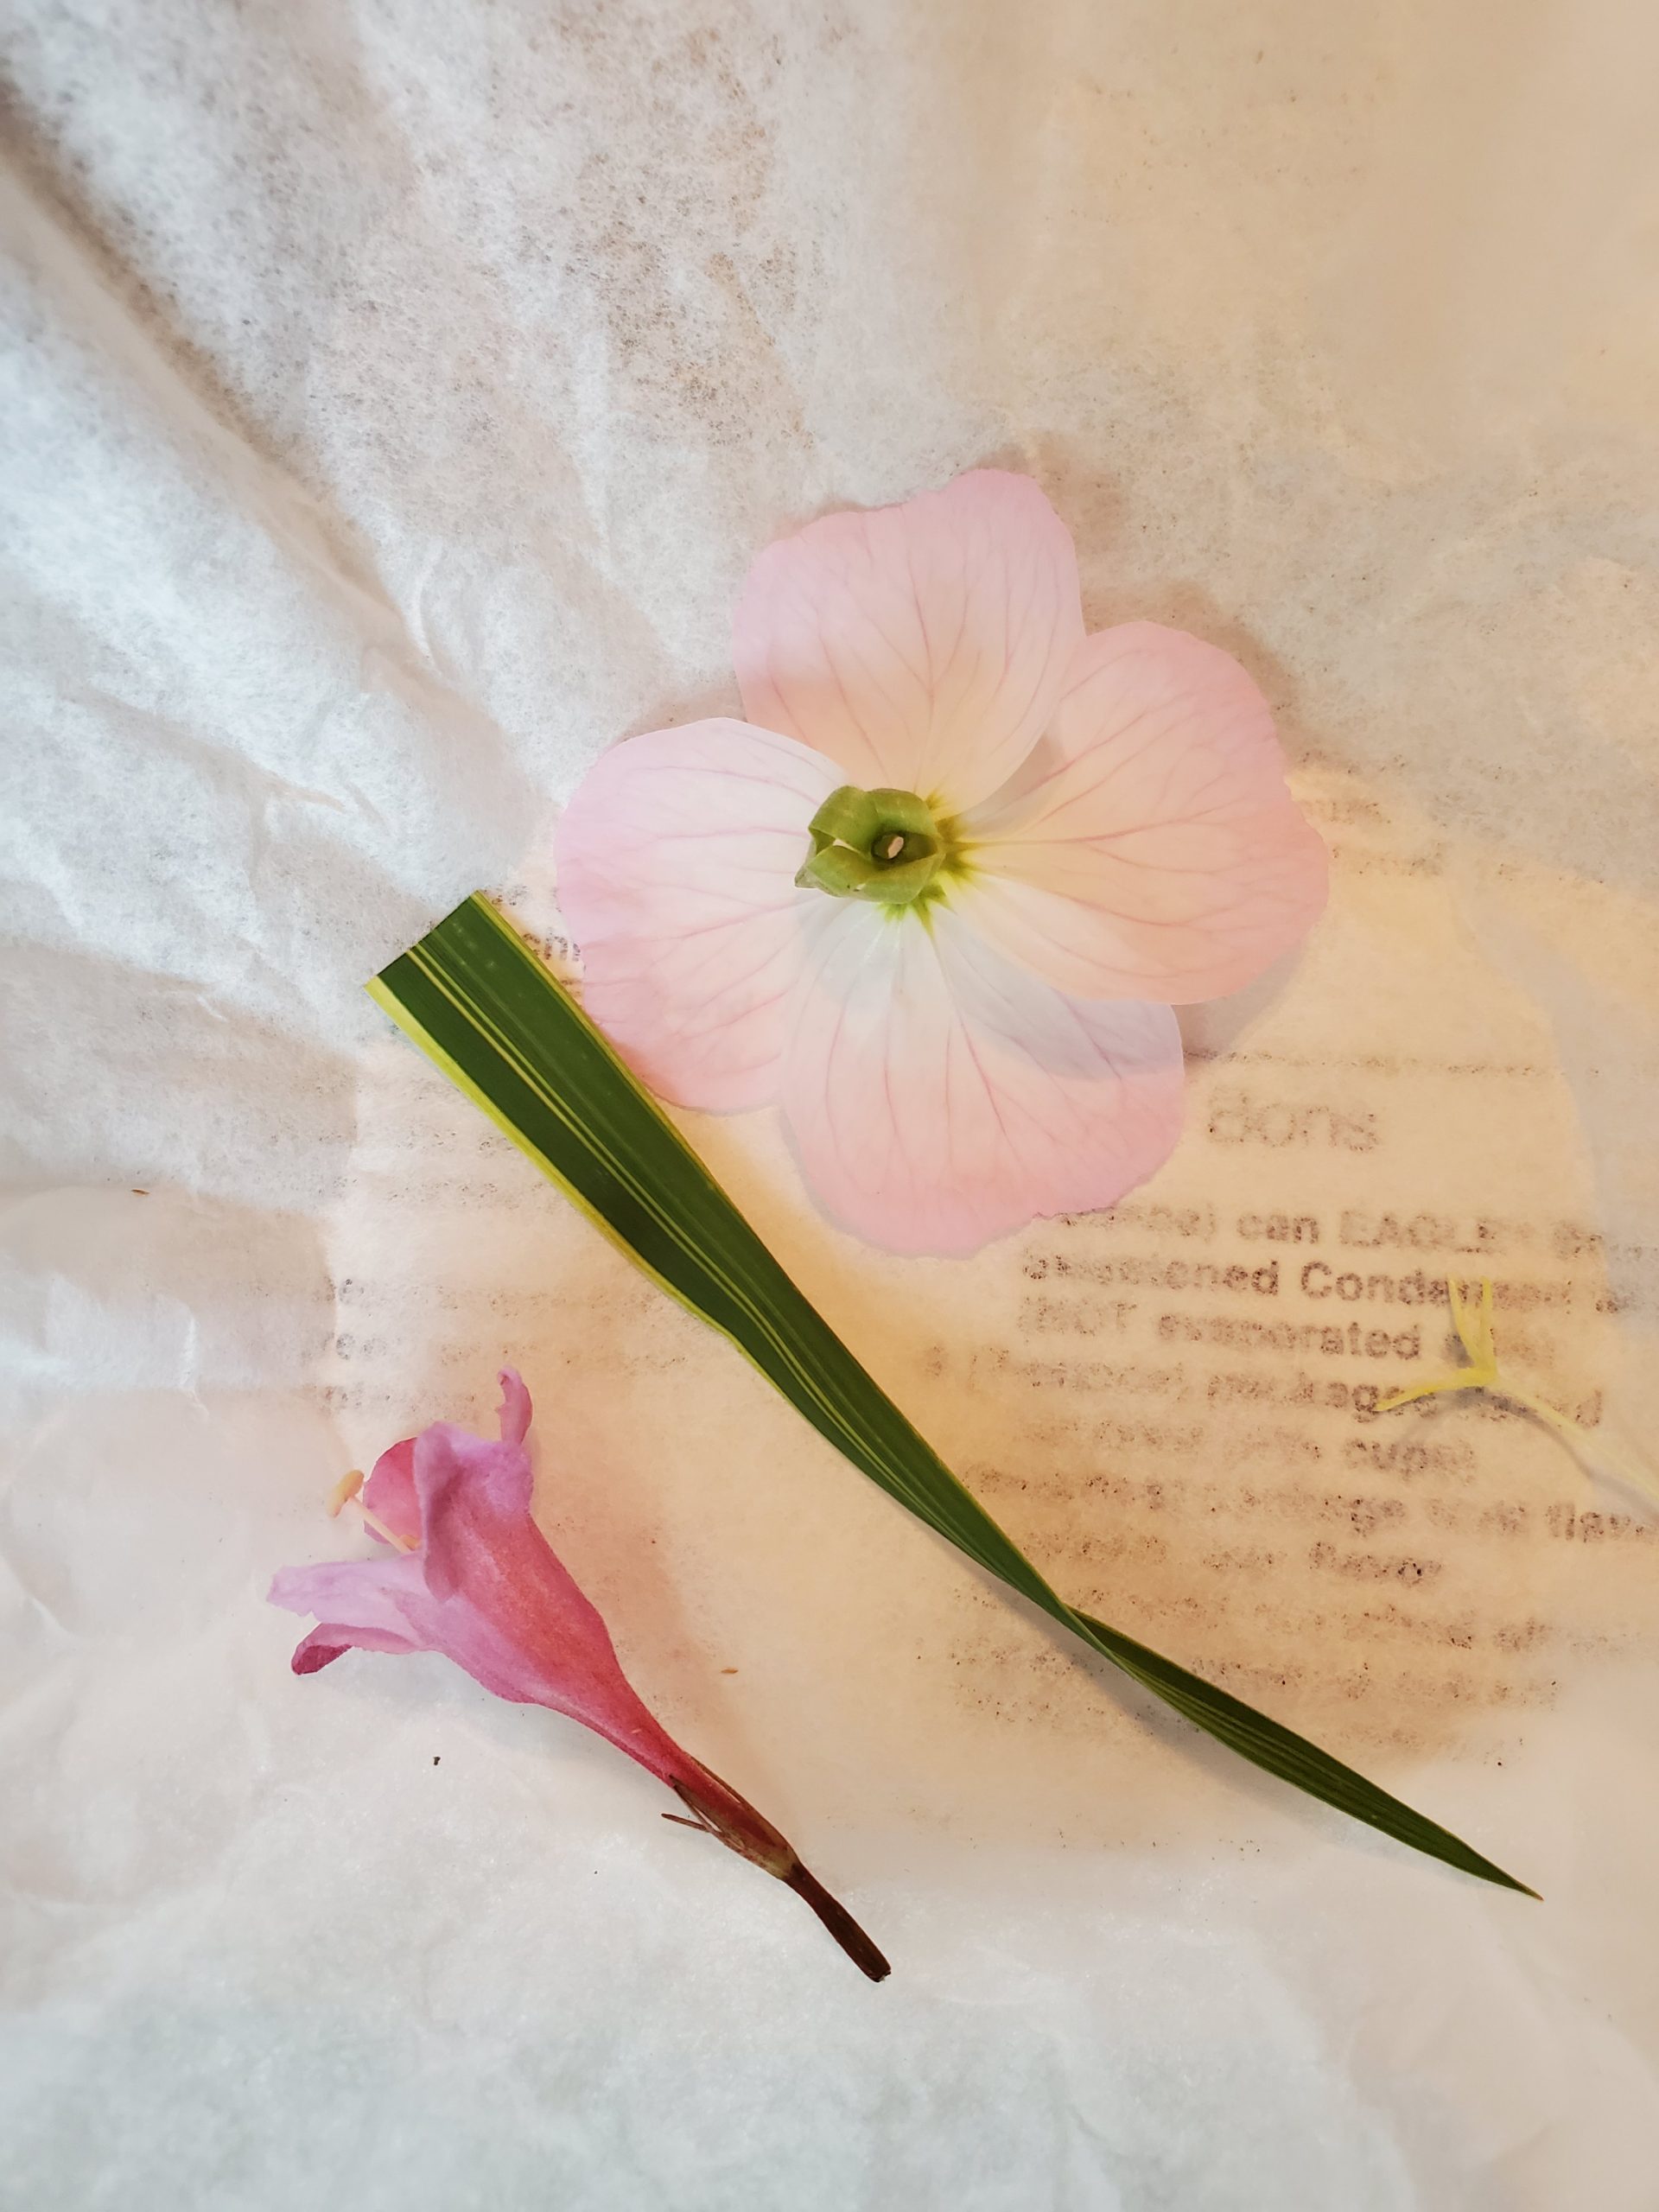
Gather several different kinds of flowers and leaves. Flowers that are flat press better than bulky flowers. You can also press individual petals. For this 6 inch by 2-inch bookmark, you will need smaller flowers.
You will need parchment paper or coffee filters and a heavy book. Lay the flowers face down on a piece of parchment paper and spread them out so they aren’t touching. Place the parchment paper in the middle of a heavy book and add a second sheet of paper on top of the first. Close the book and place other heavy objects on top (like a stack of books). The moisture released may damage the pages, so use an old book. Place the book out of the way for 2-3 weeks. Once your flowers have a papery feel, they are ready for your bookmark. (You can also buy dried flowers online or at a craft store.)
Cut a piece of cardstock into a 6 inch by 2-inch rectangle. Use a hole punch to punch a hole in the top of the bookmark. Arrange your flowers on the bookmark and place a small dot of glue on the back of each flower. Gently attach the flower to the bookmark and let dry completely. As it dries, you can add a quote or say to your bookmark with pens or markers.
Once dry, cut a piece of contact paper into a 7 inch by 3-inch rectangle. Remove the backing from one of the pieces of contact paper and place the bookmark in the center of the contact paper. Peel the backing off the other piece of contact paper and carefully add to the other side of the bookmark. Press firmly to remove any air bubbles. 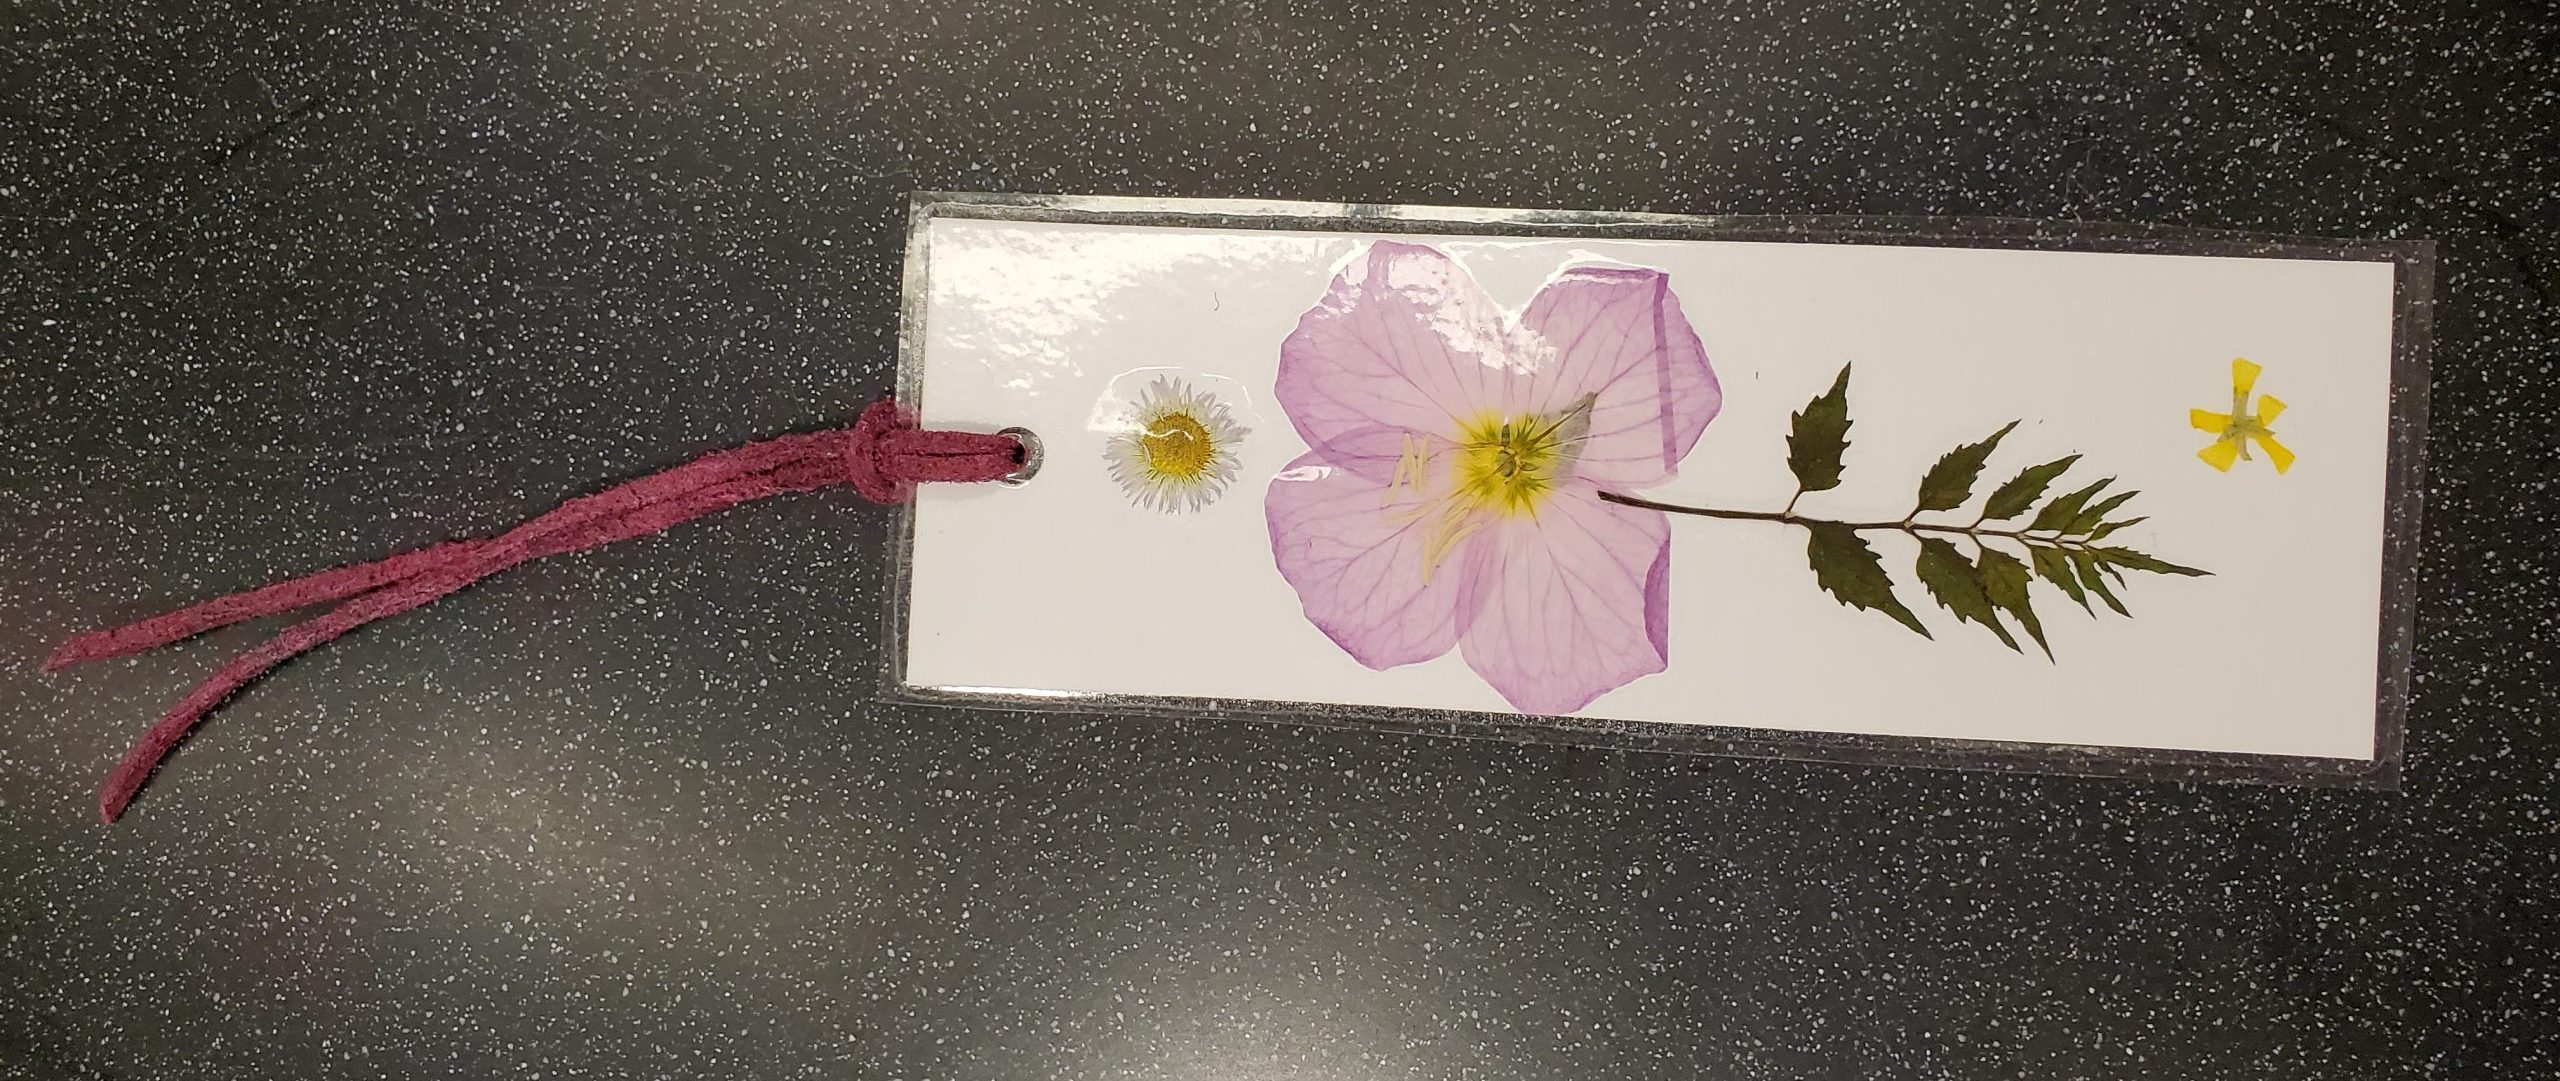
Trim off the excess contact paper, being careful not to break the seal. Poke a hole through the top and add decorative ribbon or yarn to complete your bookmark – natural and beautiful!
Ready for more natural and handmade crafts?
Books
- Super Simple Pressed Flower Projects by Kelly Doudna
- Science and Craft Projects with Plants and Seeds by Ruth Owen
- Handmade Gift Cards by Cheryl Owen
Internet